personal fit
Immobilization Splinting for Traumatology – The Basics
This article is meant for novice splinters and can also serve as a refresher for more advanced therapists.
We list the basic guidelines for immobilization splinting for traumatology and talk about the thermoplastic materials that can be chosen for specific designs. We also specify some important basic principles that should be taken into account when using thermoplastic materials for splinting purposes.
Choosing the right material
There are many options in design when considering fabrication of an immobilization orthosis. The orthosis can be a volar, dorsal, dorsal- palmar or a circumferential design.
The rigidity of the splint doesn’t depend only on the thickness of the thermoplastic material, but it also depends on the form: the more circumferential in design, the more rigid the completed splint.
There are a variety of thermoplastic materials to select from, depending on the design:
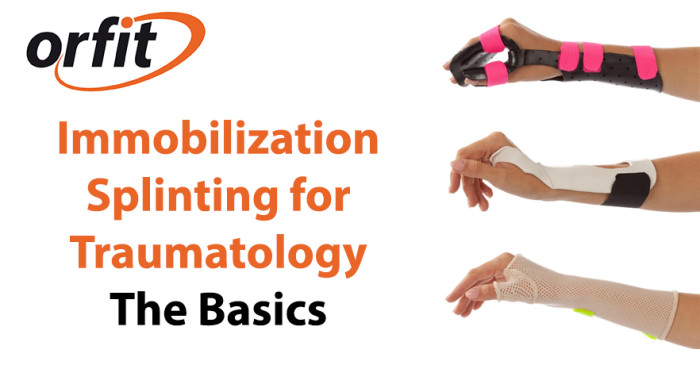
- For volar splints and/ or dorsal-palmar splints, our thermoplastic materials with minimal stretch are highly recommended due to their high resistance to stress and their high stability. Orfibrace, Orfit Eco, Orfit Eco Black NS and Orfit Classic (Stiff version) with a thickness of 3.2 mm (1/8”) are great choices for this type of design.
Volar
Dorsal/palmar
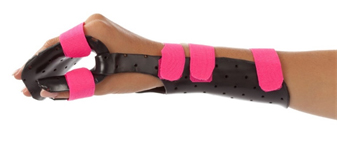
- For all dorsal based orthoses, choose a material with high drape to provide excellent contour to the anatomy, and let gravity assist (for example: orthoses for flexor tendon rehabilitation). Our thermoplastic materials like Orfit Flex NS, Orfilight, Orfilight Black NS, Orfilight Atomic Blue NS and Orfit Ease in 3.2 mm (1/8”) work extremely well.

Dorsal
-
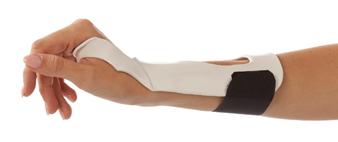
Circumferential splints are best fabricated with elastic non-stick coated products. These materials can be pinched together and/or overlapped during fabrication, but then popped apart when cooled due to the coating. Orfit NS, Aquafit NS, Orfit Colors NS and Orfilight Black / Atomic Blue NS are excellent material choices. The thickness can vary between 1.6mm mm to 2.5 mm (1/16” to 3/32”).
Circumferential
- Orficast is also a very good solution for smaller finger and hand based orthoses.
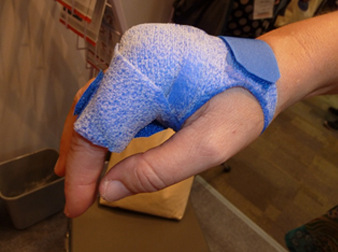
Orficast
For each of the previously discussed designs, it is always important to adhere to the basic principles of orthotic fabrication:
- The healing position is most often the intrinsic (or intrinsic plus) position.
- The opening of the splint lies opposite to the position of the injury.
- When immobilizing the long fingers, either immobilize all of them, or immobilize the injured finger with the correct adjacent finger for support (little finger with ring finger, middle finger with index finger).
- To immobilize a joint, include the proximal and distal bones to prevent motion. However, when the fracture lies very close to the MCP joint (for example a 5th metacarpal fracture), you don’t need to immobilize the proximal joint (wrist, in this case).
- To immobilize a bone segment, include the proximal and distal joints to prevent motion.
Splinting patterns and product recommendations
Our Splinting Guide offers many examples of splinting patterns for orthotic fabrication, with suggestions for the appropriate thermoplastic materials. These are also available in the Educational Corner of our website.
Wearing schedule
The wearing protocol for each injured part will depend on the individual and the severity of the diagnosis. Check with the referring physician for the specific period of immobilization. Basic guidelines are as follows:
- Muscle injuries: 4 weeks
- Sprains of Collagenous structures (like ligaments): 6 weeks
- Fractures of Bones:
- Diaphysis: 12 weeks
- Epiphysis: 6 weeks
- ( a Scaphoid fracture may require immobilization for up to 12 weeks)
Questions?
If you have a question or comment, please post it in the Orfit Splinting & Rehabilitation Group on Facebook, or send an email to welcome@orfit.com.