personal fit
Flexor tendon mobilization splint
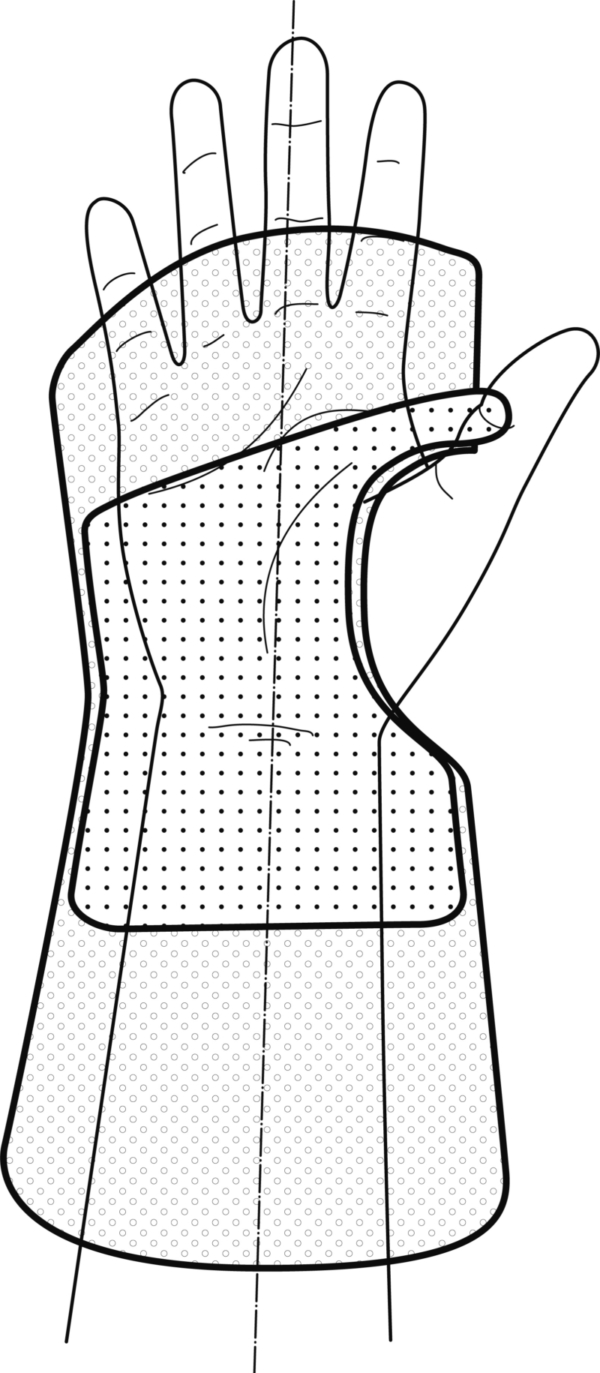
Early mobilisation of flexor tendon suture at the level of the proximal phalanges.
Tip: this splint is available as a kit.


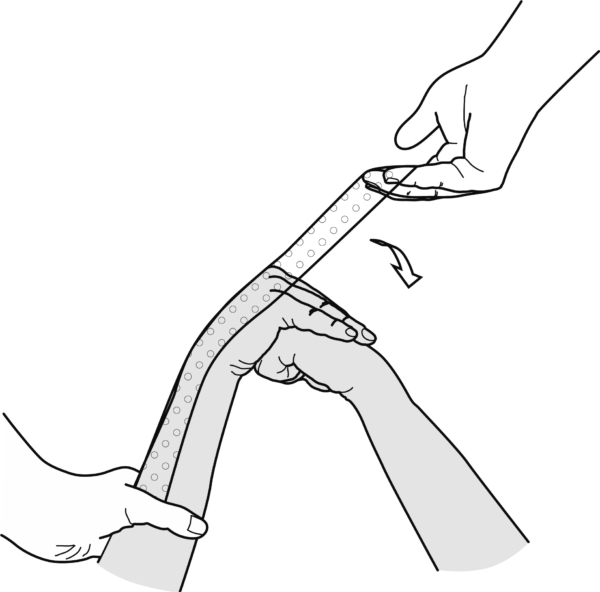
Place the splint material dorsally over the forearm and slightly stretch it before placing it on the proximal phalanges. In this way, there should be no creases forming on the side.
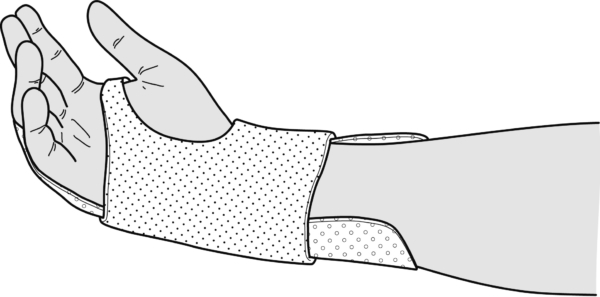
As soon as the material has hardened, the hand may be turned in a supine position. Now mould the palmar portion. The edges overlap the dorsal shell.


Stick one or multiple Orfitubes to each other, each 15 cm long, with a strip of self-adhesive splint material at both ends. Bend all the tubes together at a slight angle, and attach all the tubes to the palmar hand section at the level of the wrist.
Make finger caps out of thin Orfit Classic with the seam on the dorsal side.
Make a knot at the end of the elastic and stick a piece of Orfit Classic around it. Now stick this piece of Orfit Classic to the underside of the finger cap, approximately in the middle of the phalanx.
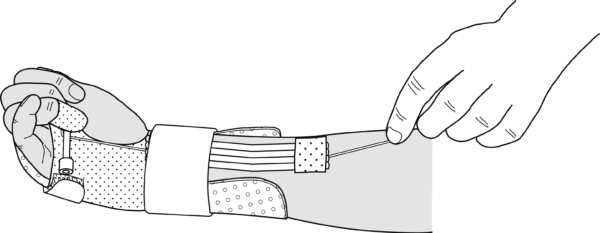
Finishing and fixation straps:
- Take care to mould the material neatly around the knuckles to prevent pressure wounds.
- Make the elastic (and therefore the Orfitubes) as long as possible in order to prevent PIP contractures in the long run.
- Apply a hook and loop tape onto the back of the hand and wrist area.