Pronation – supination splint
- Peripheral or central nerve lesions.
- Distal radio-ulnar joint stiffness.
Starting position:
standing, facing the patient


1. The elbow splint
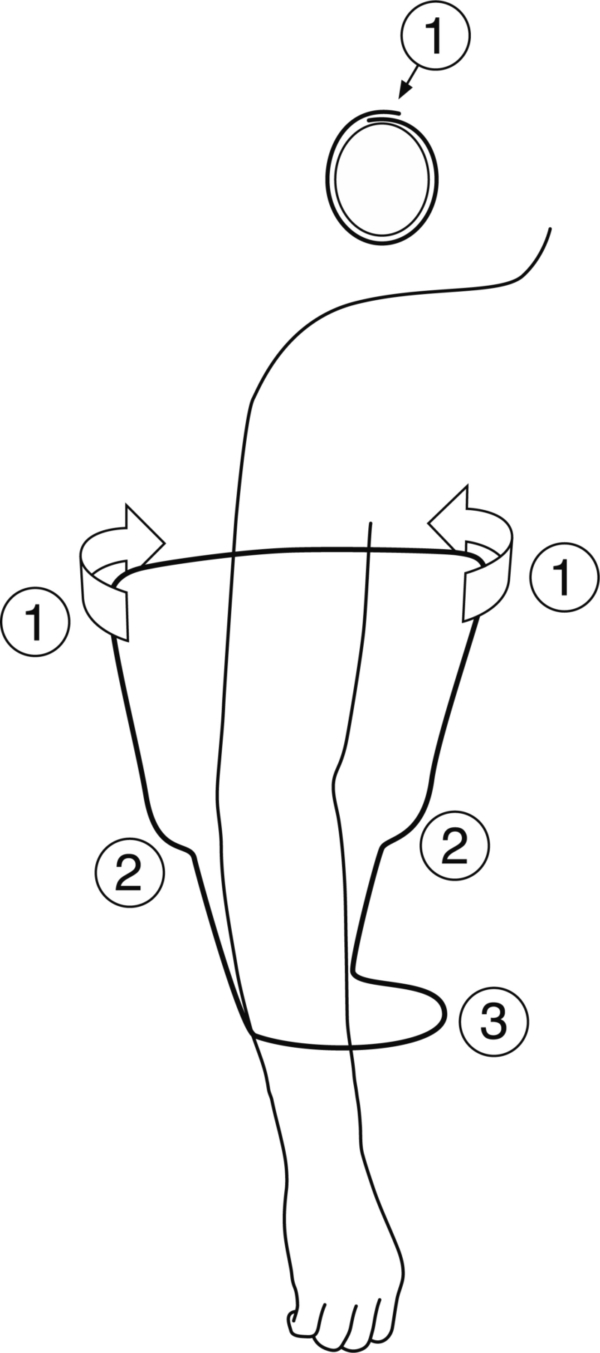
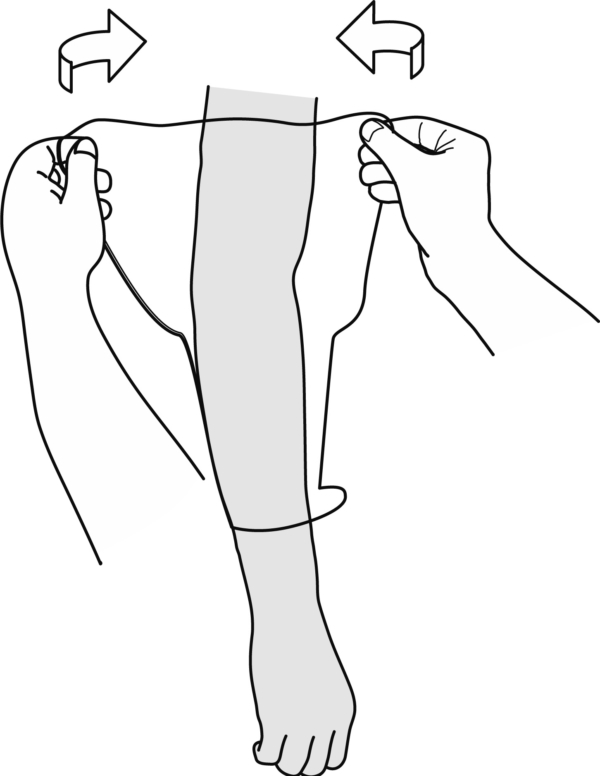
Mould the splint pattern around the arm at the level of the axilla. Slightly stretch it out, and stick it together (ensure that it is easy to detach once it has hardened).
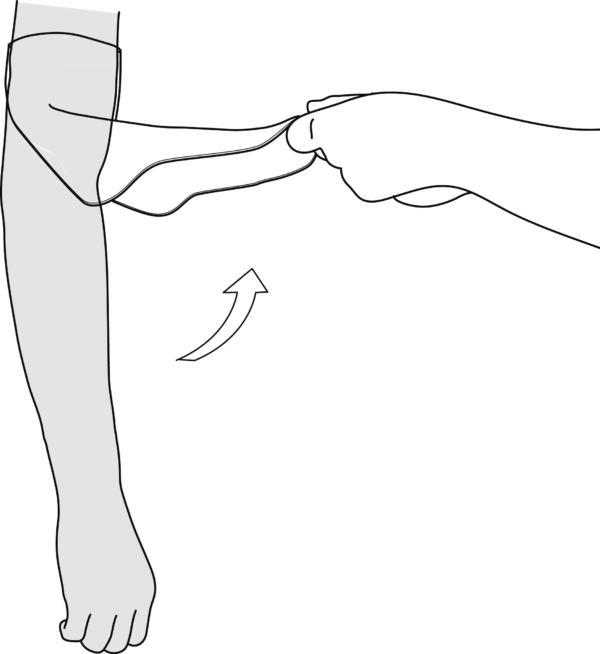
Have the patient bend his elbow …
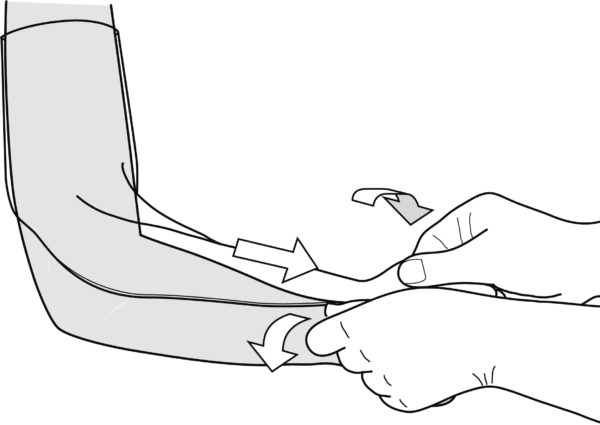
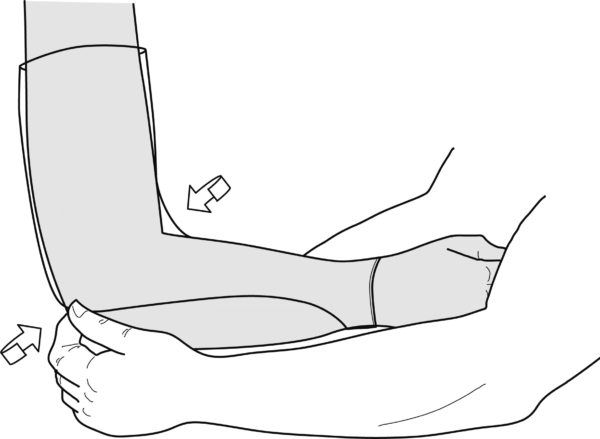
… while the distal portion of the splint is being pulled up to the wrist and attached around it. The material MUST be like a bow string, if not, the pattern must be shortened.
Slowly stretch the wings at the height of the elbow in the direction of the olecranon, and stick them together (again, ensure that it is easy to detach once it has hardened).

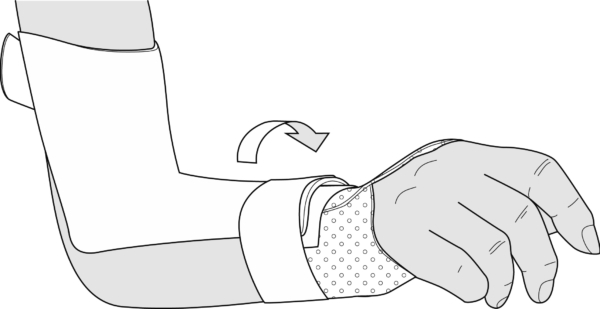
Leave the material to harden completely, after which you pull the bonded parts from each other, and cut off any surplus material.
Finishing and fixation straps:
- The volar side at the proximal end can be shortened, but the distal end must reach up to the wrist. Cut off any surplus material on the sides of the forearm so that only a slightly curved plateau remains, not wider than the wrist.
- Secure proximally with a very broad fixation strap.
- Stick some hook tape as distally as possible.
2. The hand splint
Make a wrist immobilization splint as described here.
3. The dynamic element
Close the wrist splint with a broad elastic loop and make 1 or more turns.
Hook the loop to the elbow splint (on the radial side to achieve supination, or on the ulnar side to achieve pronation).
