The
personal fit
personal fit
Wrist immobilization splint – with slightly or non-sticky materials

Objective
Immobilization of the wrist
Indications
- Acute inflammation of the wrist joint
- Wrist sprains
- Tendinitis
- Carpal tunnel syndrome
Tip: this splint is available as a pre-cut.
Fabrication steps
Starting Position

Recommended products
Thicknesses mm (inches)
1,6 mm (1/16")
2,0 mm (1/12")
2,4 mm (3/32")
Perforations

Micro Perforated

Micro Plus Perforated
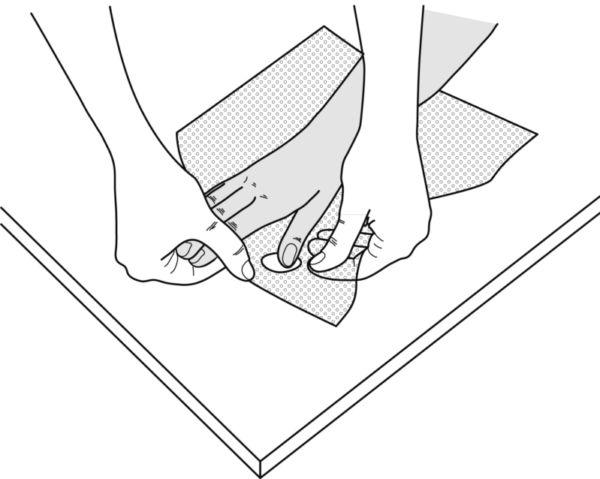
1.
Place the pre-heated pattern on the work table, the shortest side from the opening in the direction of the thumb. Ask the patient to stick his/her thumb through the opening.
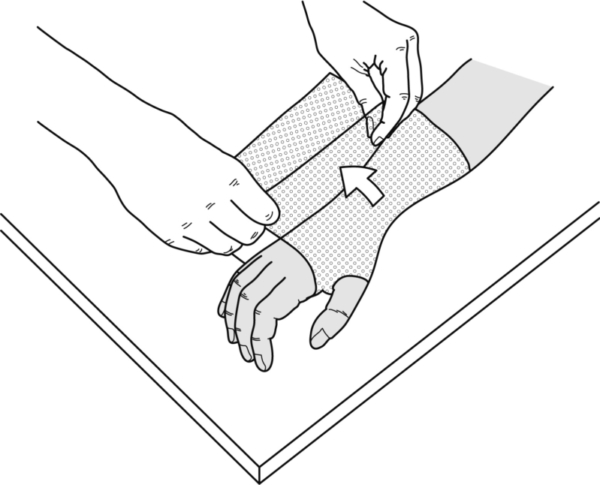
2.
Pull the radial portion out and place it dorsally over the hand and forearm.
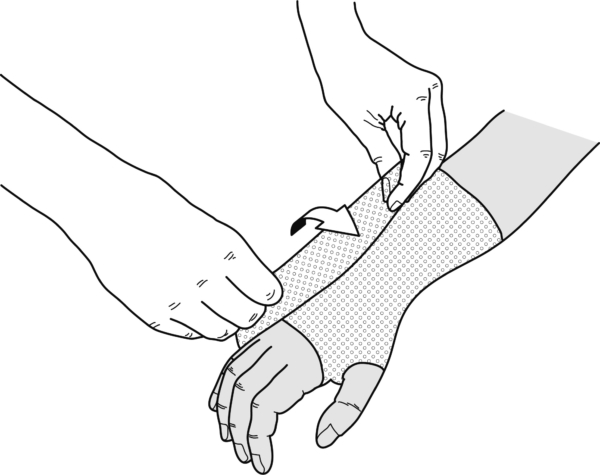
3.
Now pull out the ulnar portion and overlap.
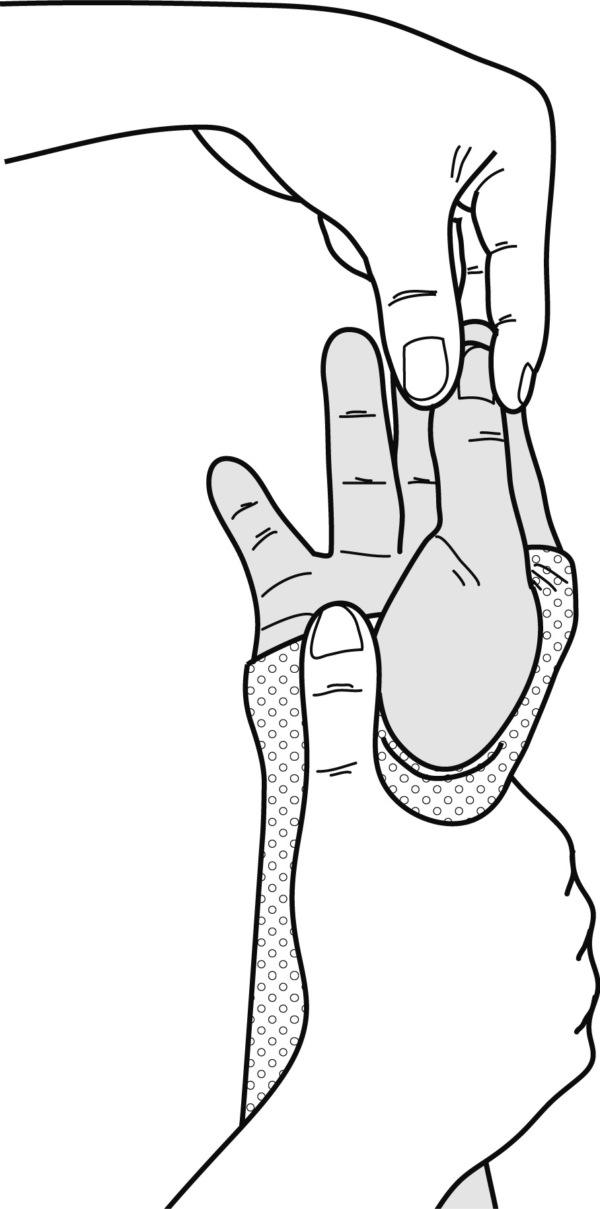
4.
Stand in front of the patient, bring his/her hand in an upward position, spread the splint material out fully, and adopt the desired position.

5.
Fixation:
One circular strap around the wrist
One circular strap at the proximal end.
Finishing:
Cut off any surplus material.
Where necessary, roll over the edges after re-heating.