The use of coils as outrigger components in mobilization orthoses
Springs and/or lengths of wire with coils store potential energy which can be released to do “work”. These components can easily be incorporated into mobilization orthoses to provide “work” in the form of functional support of joints, assistance for weak or absent muscles, and resistance or stretch to joints with limitations in joint range of motion.
Stretching a spring or bending a wire with a coil requires the release of energy: when the spring is pulled to a certain length, the force needed is equal to the tension for that length. This force is increased as the spring stretches or the spring wire bends.
The potential energy available to do “work” depends on the thickness of the wire, the length of the wire and the diameter of the coils. The practice of twisting the wire into helical coils helps to control the energy through the number and the diameter of each helical twist.
Therapists can purchase pre-fabricated orthoses with coils, or they can purchase spring wire and use rounded pliers and jig to create their own coils. Orfit Industries offers ready-made coils in four distinct sizes:
#35800 Finger coil spring (10 pcs.)
#35801 Knuckle bender coil springs (10 pcs.)
#35802 Finger extension assist (10 pcs.)
#35804 Wrist extension coil spring (5 pairs)
This assortment allows therapists a choice for selection of the appropriate coil for each specific joint and pathology.
We also sell Spring Wire (#35805) which is easy to manipulate into custom made coils for orthotic fabrication.
Here are some important considerations and pointers for working with wire lengths and coils:
• The axis of the helix or coil should approximate the axis of movement of the specific joint being mobilized.
• The longer the wire length, the less powerful will be the resistance to a force at the end of the long lever arm.
• Force applied to the lever arm will follow the direction of the last helical twist. When the force is applied in the opposite direction of the last helical twist, it causes an opening of the twist and reverses the potential energy. So the force will be lessened when the coil is turned over.
• The ends of the wire can be bent into a “U” shape or “hook” using pliers. The ”hook” shaped end is then heated up with dry heat and embedded or melted into the thermoplastic material of the base orthosis until it is level with the material. If pulled, the material inside the “hook” prevents the wire from being pulled straight out of the orthosis. Wait until it is cool before testing the coil. Cover the “hook” shape with an additional piece of thermoplastic.
• Smaller and thinner wire “hooks” can be covered completely with Orficast thermoplastic tape that has been heated with dry heat. Then the entire covered hook can be affixed to the orthosis using dry heat to both the base orthosis and to the hook.
• Avoid sharp angles and notches that might cause breaking points in the wire. Use rounded pliers for easier bending of the wire.
• Place the coil so that active patient motion winds up the coil.
• Adjust the coil strength by augmenting or diminishing the number of coils with pliers.
• To replace a coil, heat up the coil arm, detach from the orthosis and replace.
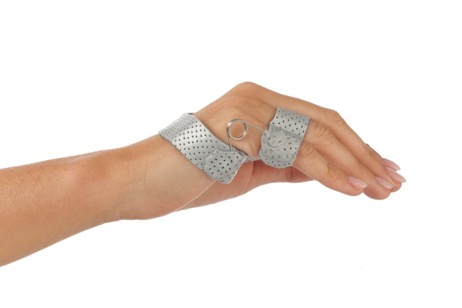
Springs – Knuckle bender coil spring
Art. N° 35801
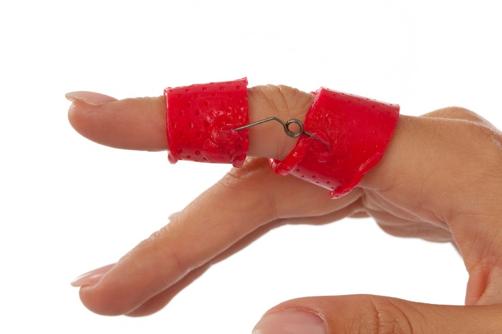
Springs – Finger coil spring
Art. N° 35800
As it is turned over, it has half of the strength than the orthosis below.
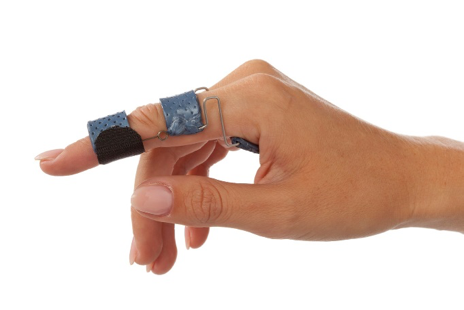
To obtain a tension, you need a difference of range of motion between the orthosis and the finger contracture.
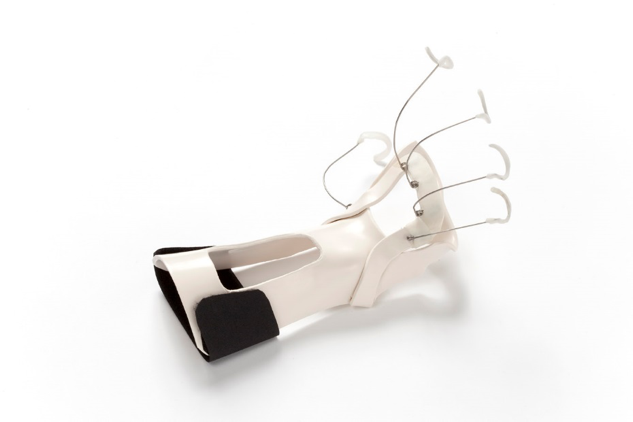
Springs – Finger extension assist
Art. N° 35802
Used for functional orthoses, look for the complete range of motion, but avoid hyper extension.

Dynasyst springs – Wrist extension coil spring
Art. N° 35804
This spring coil is designed to support the weight of the hand.
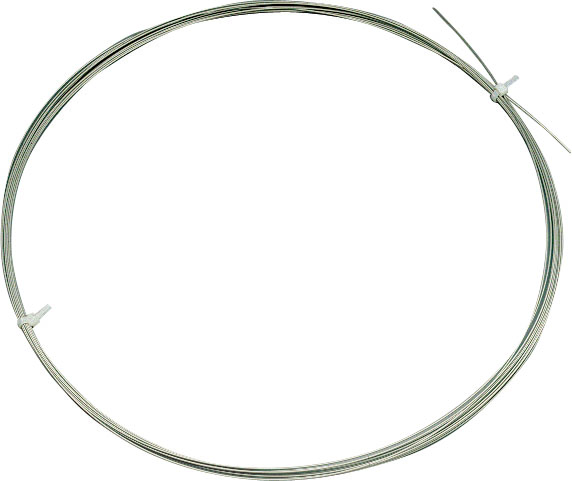
Dynasyst springs – Stainless steel spring wire
Art. N° 35805

